


.jpg?type=dog&crop=48x48)


-.jpg?type=dog&crop=48x48)


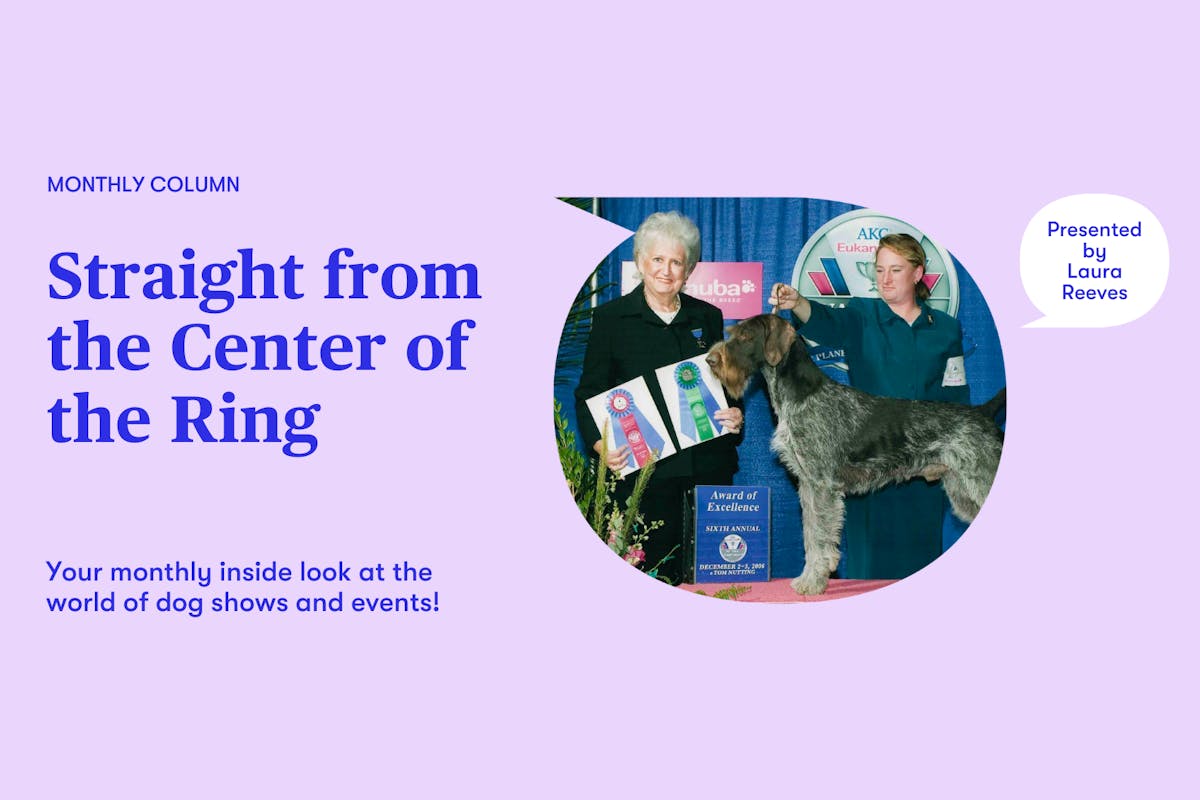
Straight from the Center of the Ring: How to Stack Your Dog
Learn all about why stacking is important, how to properly stack your dog, and everything in between!
Good Dog is on a mission to educate the public, support dog breeders, and promote canine health so we can give our dogs the world they deserve.
Good Dog is on a mission to educate the public, support dog breeders, and promote canine health so we can give our dogs the world they deserve.
Good Dog is on a mission to educate the public, support dog breeders, and promote canine health so we can give our dogs the world they deserve.

Laura Reeves is an AKC Breeder of Merit, AKC Judge, seasoned podcast host, retired zone representative for the Professional Handler Association, and a second-generation breeder of German Wirehaired Pointers (GWP) under the Scotia Kennel banner.
This month, we’re talking about stacking your dog.
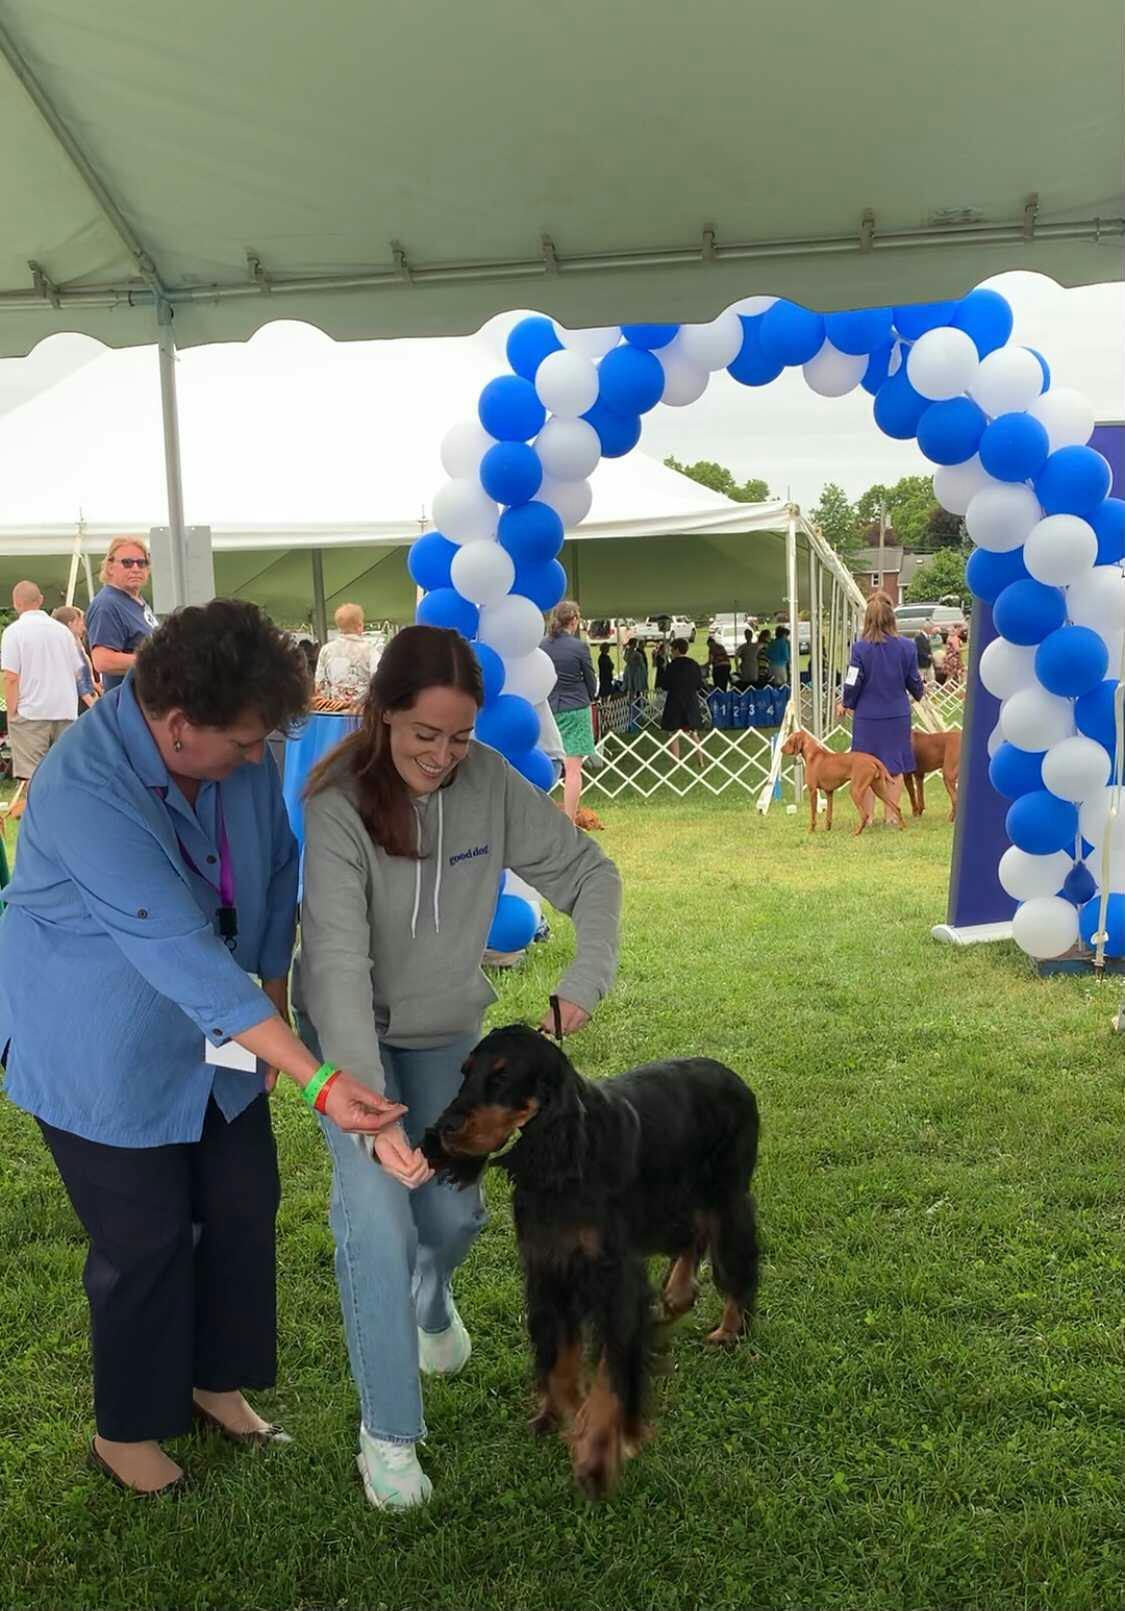
Simply speaking, stacking is placing the dog’s feet in such a way that it “makes the picture” of the breed. Stacking matters- why? Because you have roughly two minutes of the judge’s attention. Every second counts. A dog that makes the picture easily and quickly will catch the judge’s eye, thereby making you more likely to reach your goals and be successful. Watch successful handlers — they are fast, smooth and efficient.
Hand Stack
A dog will naturally put its feet where they are most comfortable. If the dog is correctly put together, the handler will have very little work to do. There is nothing more impressive than a dog that steps right up into a stack and a handler who just stands there looking proud.
Every show dog and handler needs this skill. I treat it as a straight-forward obedience training exercise.
We start with puppies on a table, standing them up for evaluation, and it keeps going from there. Every interaction with a dog is an opportunity for training and this is no exception. No matter the age of the dog or the experience of the handler, there are three basic requirements for teaching a dog to stand up:
The head controls the body.
This is a simple dynamic and often the most difficult for novices to understand. Whether you use the collar or the chin, simply keeping the head still and looking forward is the first step in teaching a dog to stand. I start with the puppy or dog on leash, walking toward my right hand. The hand does not contain a treat, but it’s position should indicate it might. The dog learns to walk to the hand as a marker position.
Using the right hand, to hold the dog’s chin or collar, you can keep the dog still while simply patting it. Remember to give a stay command and a release command. So, the dog is on your left side, your right hand is held to the front. The dog walks up to the hand and you hold the head and say “Stay.” You keep the head still and eventually the body will quit wiggling and waggling. You quietly stroke the dog. The instant it’s still, just even a pause, you say “ok” along with a tap on the head or the side as you like. Lots of praise and silliness ensues. Then you do it again, looking for the dog to be still a little bit longer.

Join our Good Breeder community
Are you a responsible breeder? We'd love to recognize you. Connect directly with informed buyers, get access to free benefits, and more.
Elbows and Hocks
Once the concept of stillness is established, we can worry about where the feet go. This is when I add the stand command. When placing the feet in position, you will always grasp the elbow to place the front and the hock to place the back ones. The front feet normally need to come straight down from the shoulders. Be sure the front legs are well under the dog and aren’t pushing back in a “rocking horse” maneuver. Look at the dog from above or practice with a mirror so you can see the picture. The back feet generally should come down with the hocks perpendicular to the ground and the back toes just behind the hip bone. They need to be in a straight line back from the front leg.
This is essential knowledge. Placing a dogs’ legs correctly, or incorrectly, can change the dog’s appearance drastically, both for better and for worse!
(NOTE: Clearly, different breeds have different requirements for proper foot placement. Know what is correct for your breed.)
Five Second Rule
After we have established “Stand”, “Stay” and “OK” as basic commands the dog understands, then I start teaching “5 second” drills. This is a system that instills muscle memory in both dog and handler for stacking the dog in a precise and efficient manner.
As the name implies, the goal of the drill is to be able to stack and present your dog in five seconds flat. Each leg is numbered. With the head held by the right hand, you place the front left— 1, rear left — 2 (in other words, always get the judge’s side set first), right rear — 3, switch hands on the head/collar, place the right front — 4 — with the right hand and — 5 is presentation, i.e. tail, stand up straight etc. It may sound daunting, but even my youngest junior handlers can do this.
Pro Tip:
This drill helps prevent the “fidgets,” as I dub them. Keep the dog’s weight evenly balanced, with its head pointing forward; place the legs gently and without horsing the dog around and the feet should stay in position and not require resetting.
Practicing this technique gives you confidence to set the dog up quickly and smoothly, thereby maximizing your time in the ring and offering your very best first impression. Having taught the dog to “walk up” into the stack by targeting your right hand, you should have lightened the load considerably.
The Fun Part
Now we can talk about the fun part of training a show dog. I teach hand stacking and free stacking concurrently, but rarely in the same session. I like to train in pieces and then weave all the parts together for a seamless performance.
Puppies start learning to free stack without a leash. This is where they get lots of food and praise and there is no “wrong answer.” We use treats to teach a dog to “go kennel,” so we start with a puppy running amuck in the dog room. I call the puppy to me, show her the cookie and ask her to “watch me.” This command is essential to free stacking and offers a bedrock of focus that will help you and your dog through nearly any situation.
Once the puppy makes eye contact she gets praise and we throw the cookie for her to chase into the crate. This is a building block for everything that will follow. It works for older dogs as well, but the younger you can start, the more firmly the conditioning system will be established.
The “watch me” for a cookie continues routinely and we build on that by asking the dog to wait longer for the reward. Instilling focus is the first tool. Next, we begin moving the dog around using that focus. I walk forward, the dog steps back. I walk back, the dog steps forward. I can use the focus to move the dog side to side as well. All of this is without a leash and using only body language and food motivation. If the dog is motivated more by toy drive than food drive, switch devices to reward the focus.
Body Communication
As a side note, dog communication relies heavily on body position, not so much on verbalization. While I teach commands during the free stack training, “back,” “step up” and “fix it” being the primary ones, the dog is responding primarily to my body language. My shoulders are square and back. My feet are set shoulder width apart and are pointed straight ahead. The dog will usually mimic my stance. I always teach a free stack with the dog coming straight to my body. This provides a natural block to forward progress and never involves a leash correction.
As the dog begins to understand your desires, she will move in tandem with you. I normally back the dog up to get the back feet placed first. A properly built dog will stand comfortably with its back feet parallel and slightly behind its hips. Once the dog’s back feet are set, I ask the dog to step up with its front feet. At this point in the training, I add a leash and collar to physically guide the dog into position. I can walk the dog up using the leash to gently move the dog’s weight from foot to foot.
And this is why free-stacking is the fun part of training your show dog. The word “no” should cease to exist during these exercises. If the feet aren’t right, just break and start over. Once they are close, give a reward and do it again. As the dog gains confidence, the wait for the reward lengthens, the feet are more precisely placed to earn the reward, but there is never a “bad dog” moment.
Eyes on the Prize
The philosophy behind training a reliable free stack is that good dogs generally look best if you just let them stand up on their own. Teaching them to balance, focus and then use ears or tail as required by each breed will create a winning picture.
A Cavalier that smiles and wags with feet four square, a Portugese Water Dog with tail up and goofy grin while planted like a statue, a Doberman that is up and arched over its front with the look of eagles…. These hands free pictures can make all the difference in tough competition.
Warning, if you have trained the “watch me” command well, you will have most of your control over the dog with eye contact. This means the handler has to maintain the “watch” also! One of my favorite show dogs of all time was a GWP bitch I owned. Smoke was very serious about her “watch” command. I was showing her at a National after she had been retired for several years. She nailed a gorgeous free stack at the end of her down and back. Unfortunately, I glanced away from her when the judge gave me direction. Smoke was so offended, she jumped up and bounced off my chest with both her front feet and came right back down in a perfect free stack. It left a mark, literally, and taught me a valuable lesson… Keep your eyes on the prize!
To stay up-to-date on this column and more great content from Good Dog, sign up to join us at gooddog.com/join!